Summer is here and although it's time for the beach and sleeping in and vacations, we want our kids to stay academically active. I know there are summer school programs out there but this is a great way to help the little ones stay creative during the summer.
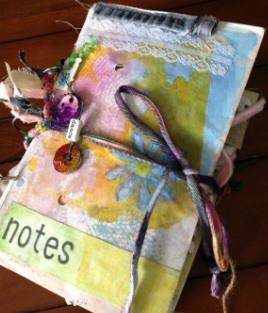
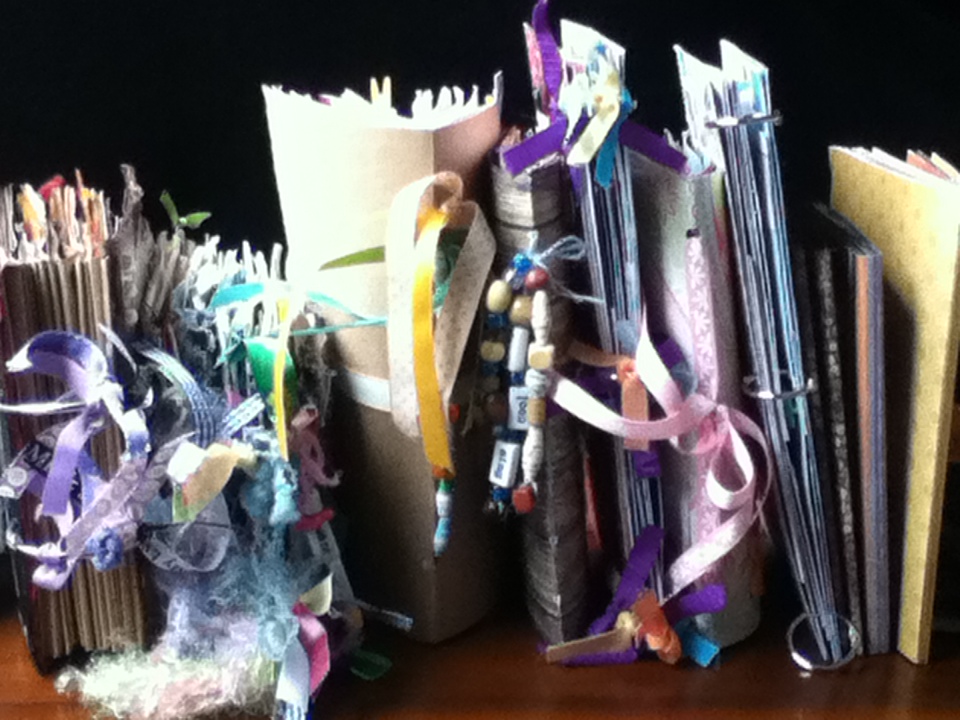
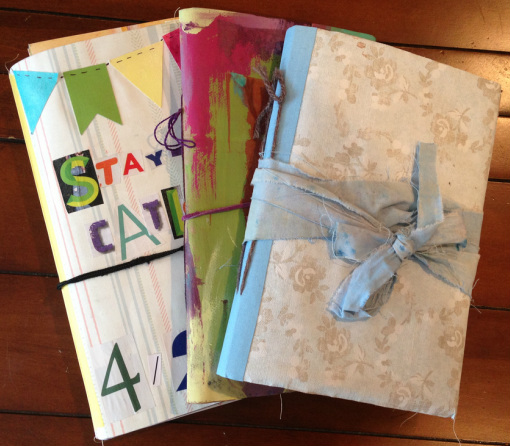
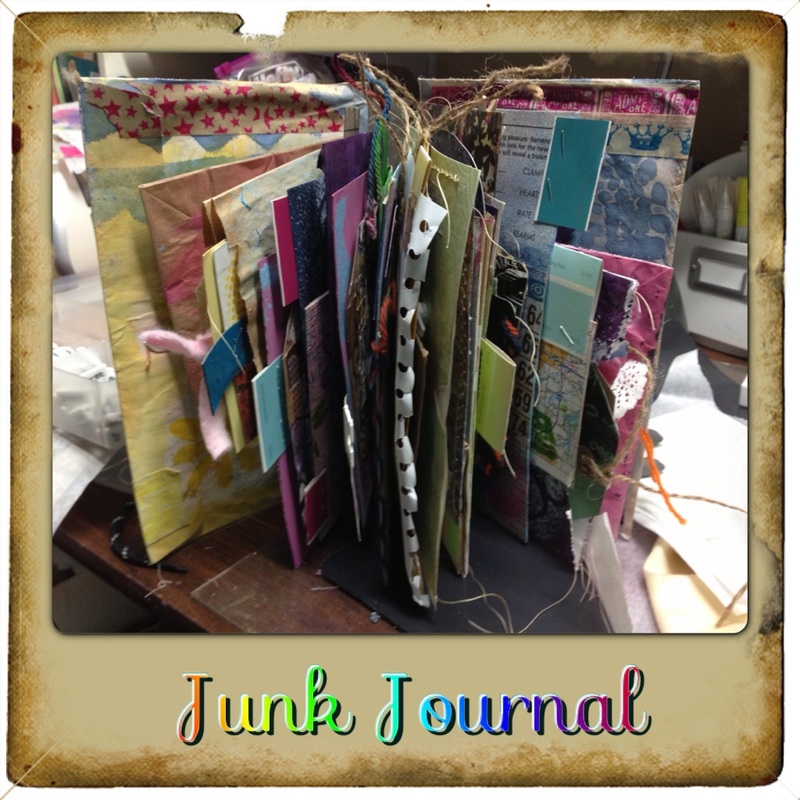
I made these junk journals for my nephews to use for collecting fun things they find on nature walks, to draw in and practice their writing.
I made these junk journals for my nephews to use for collecting fun things they find on nature walks, to draw in and practice their writing.
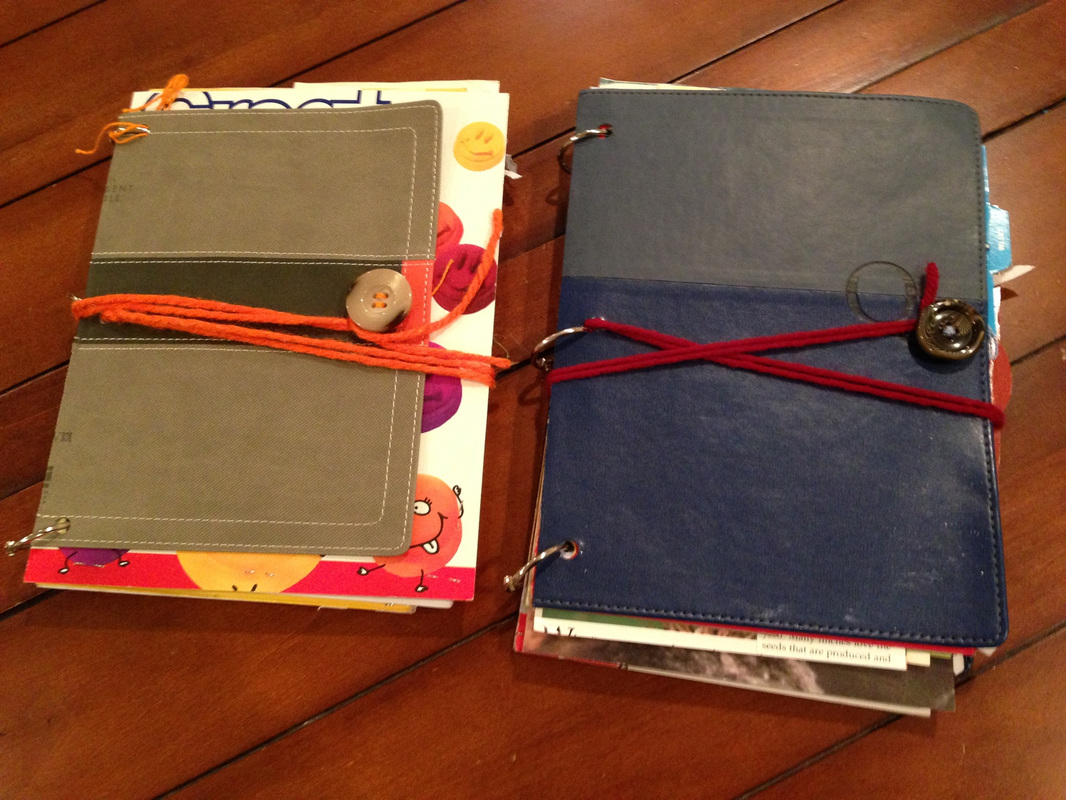
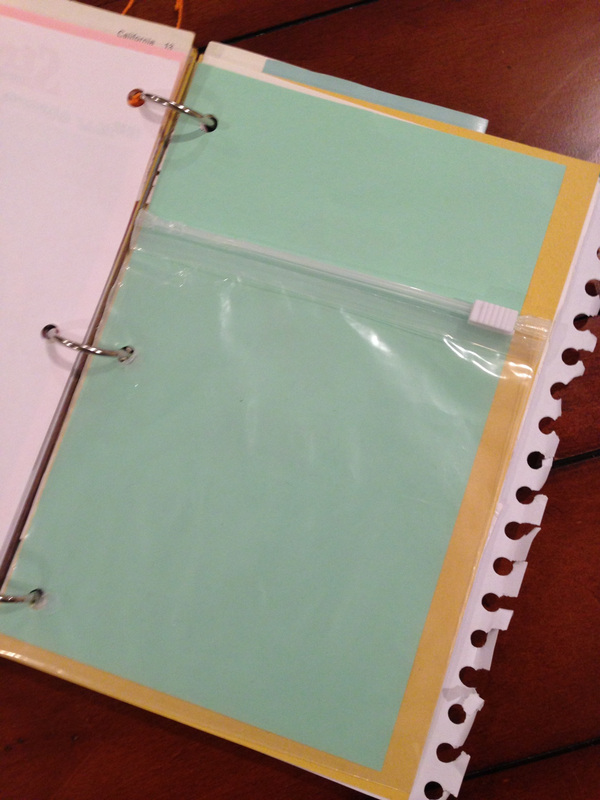
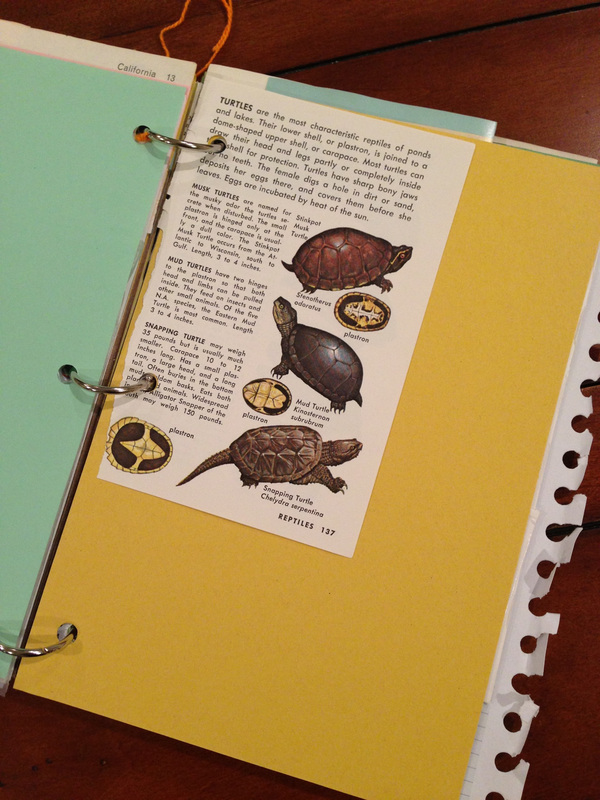
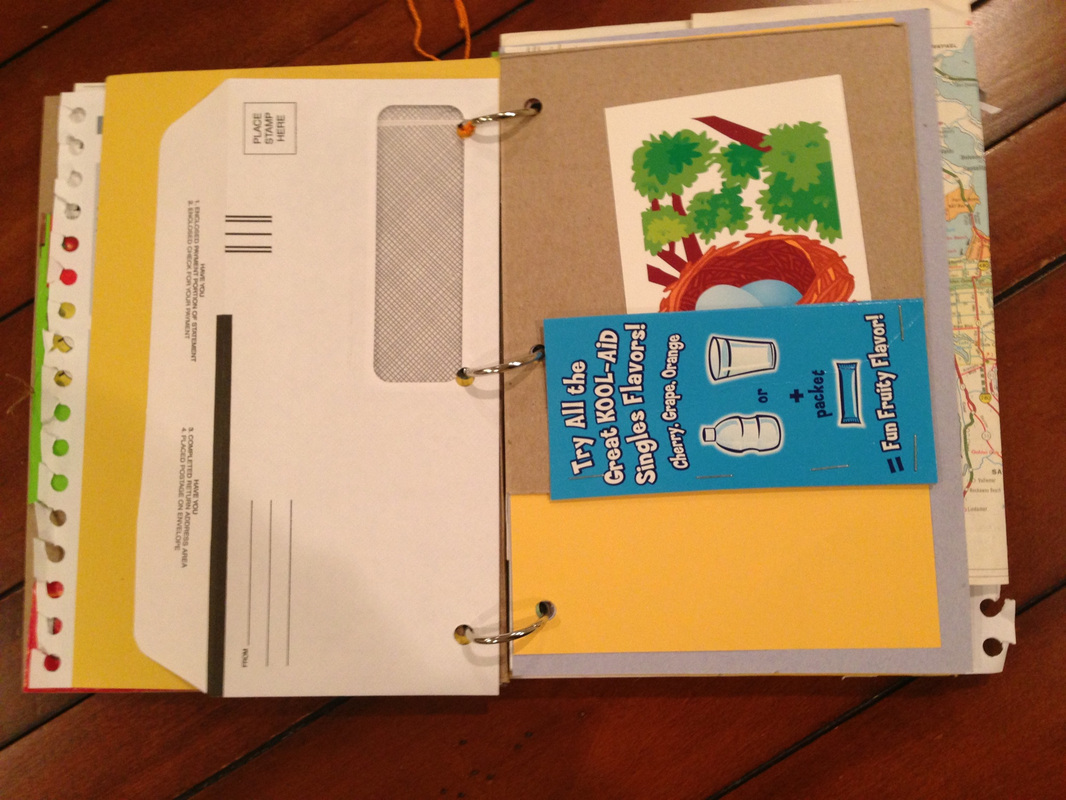
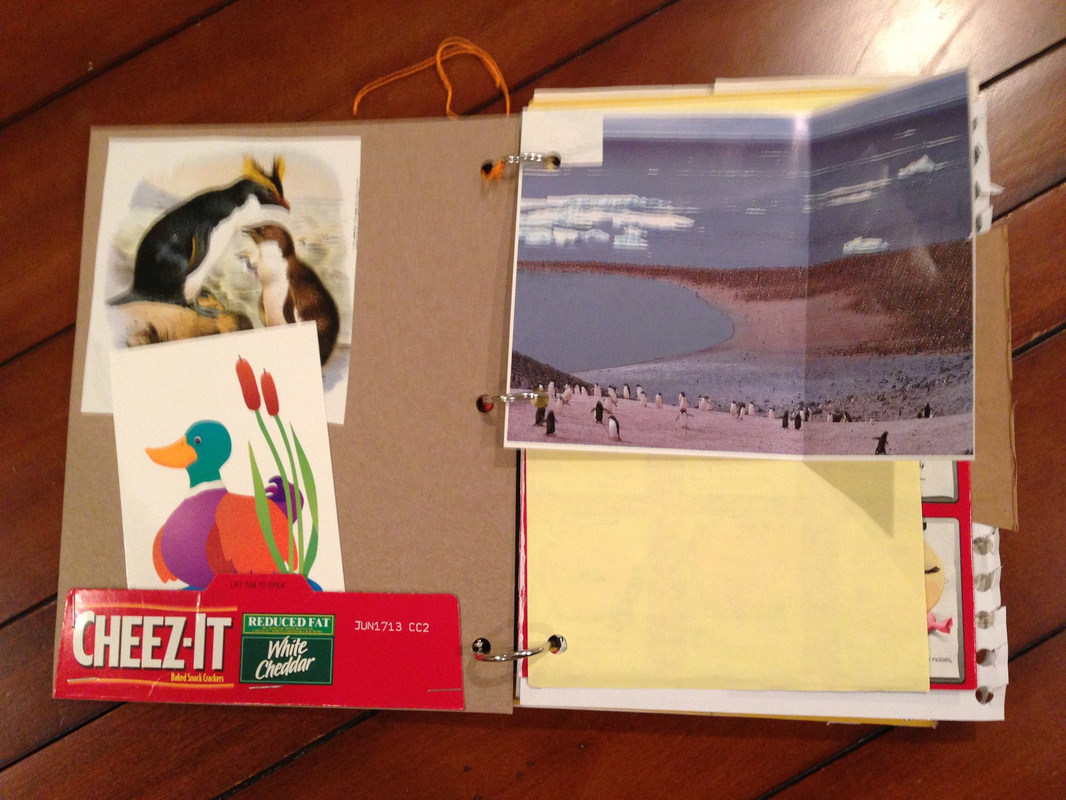
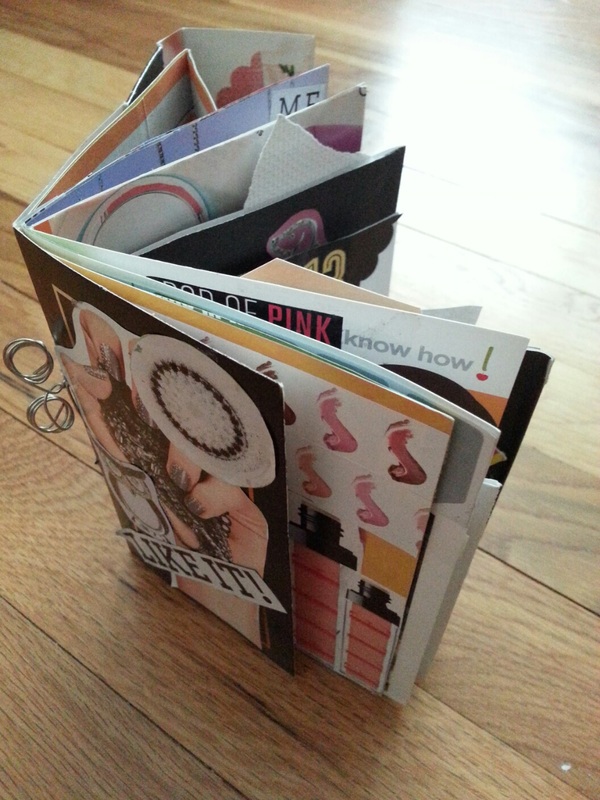
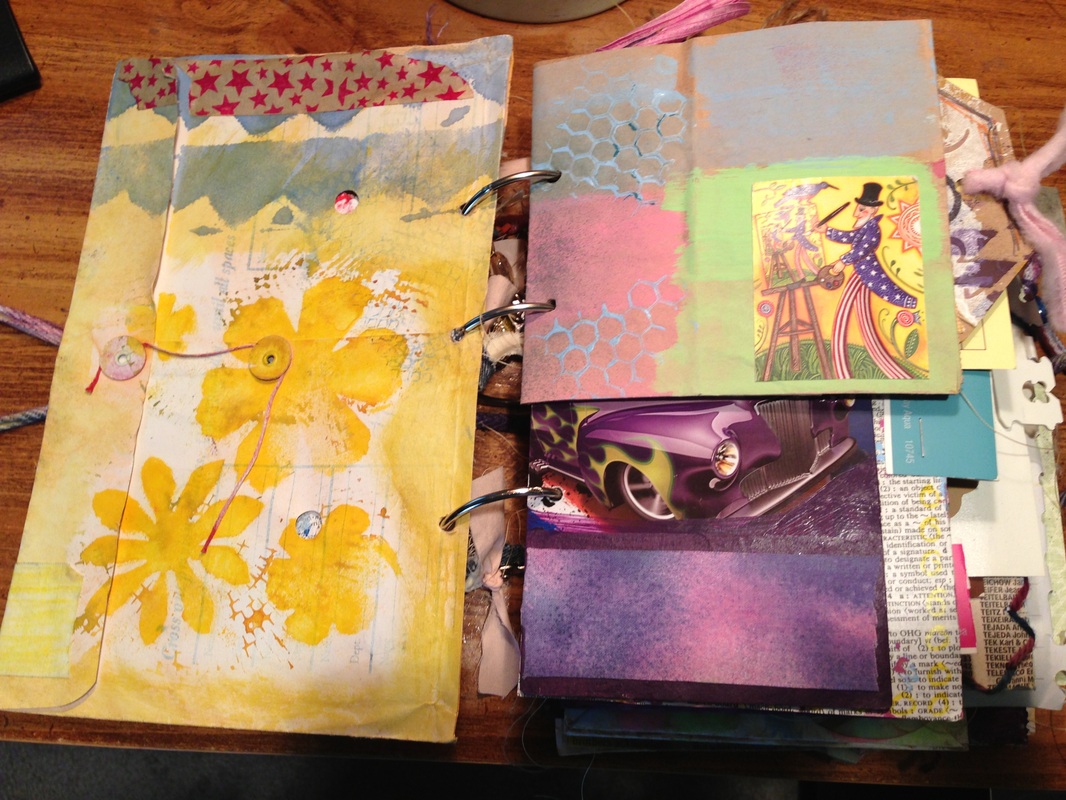
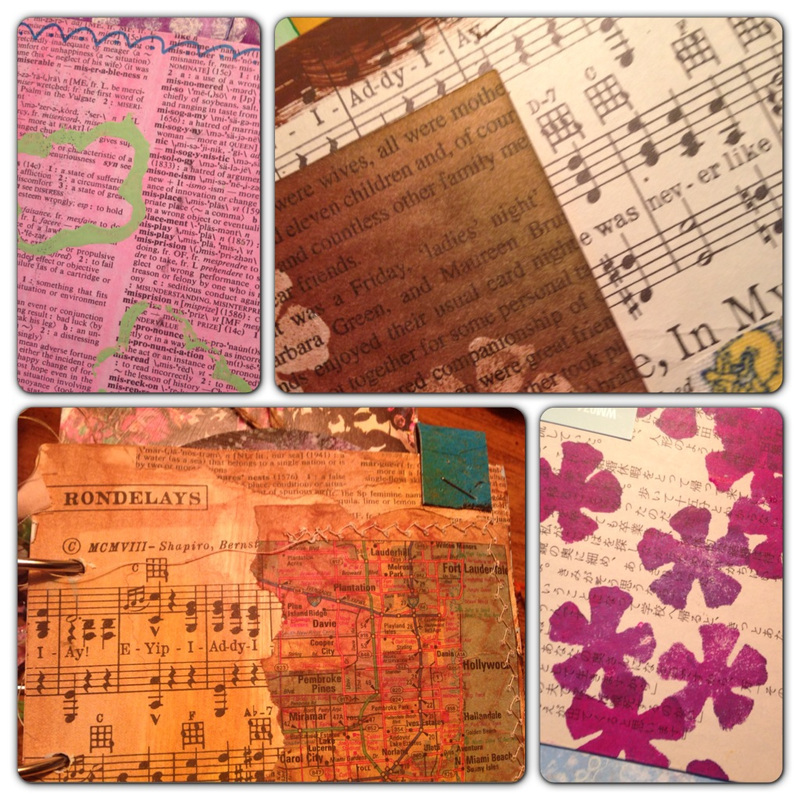
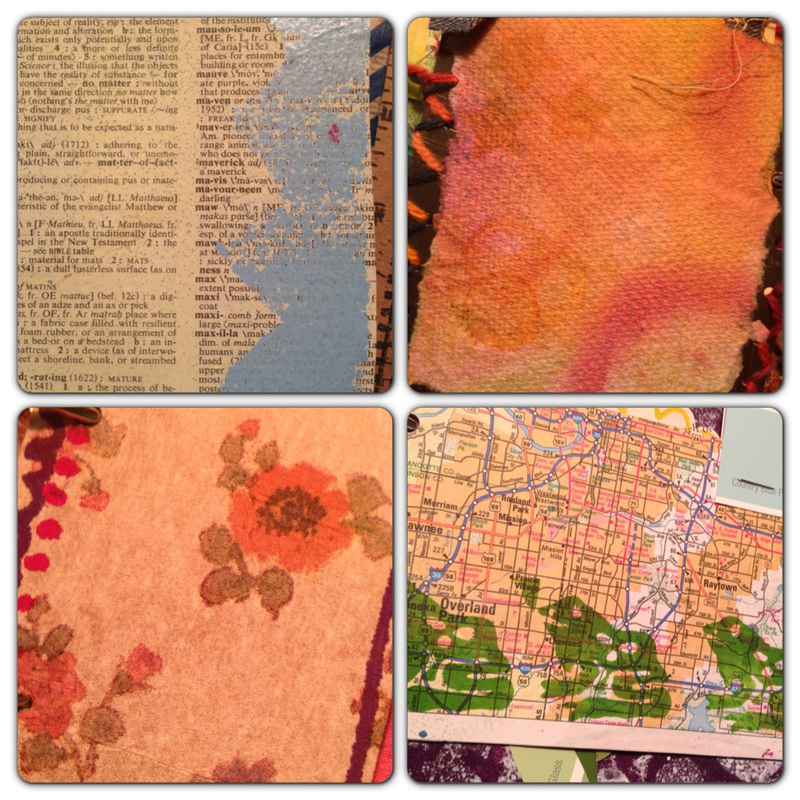
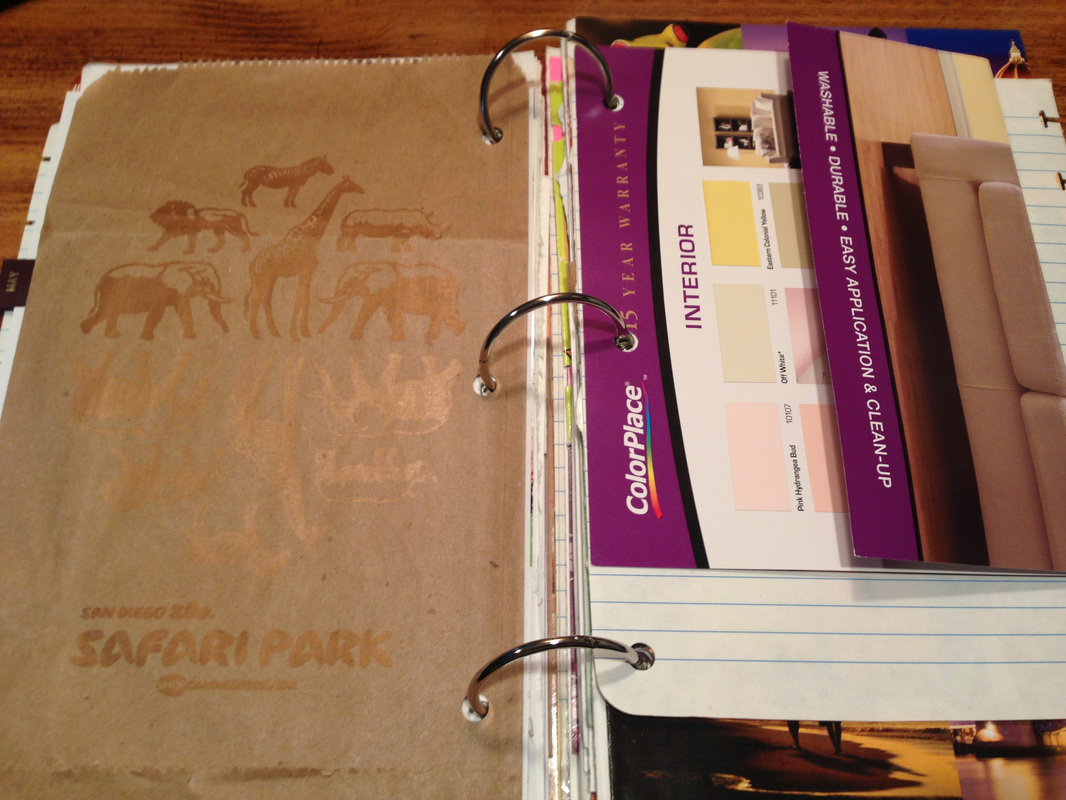
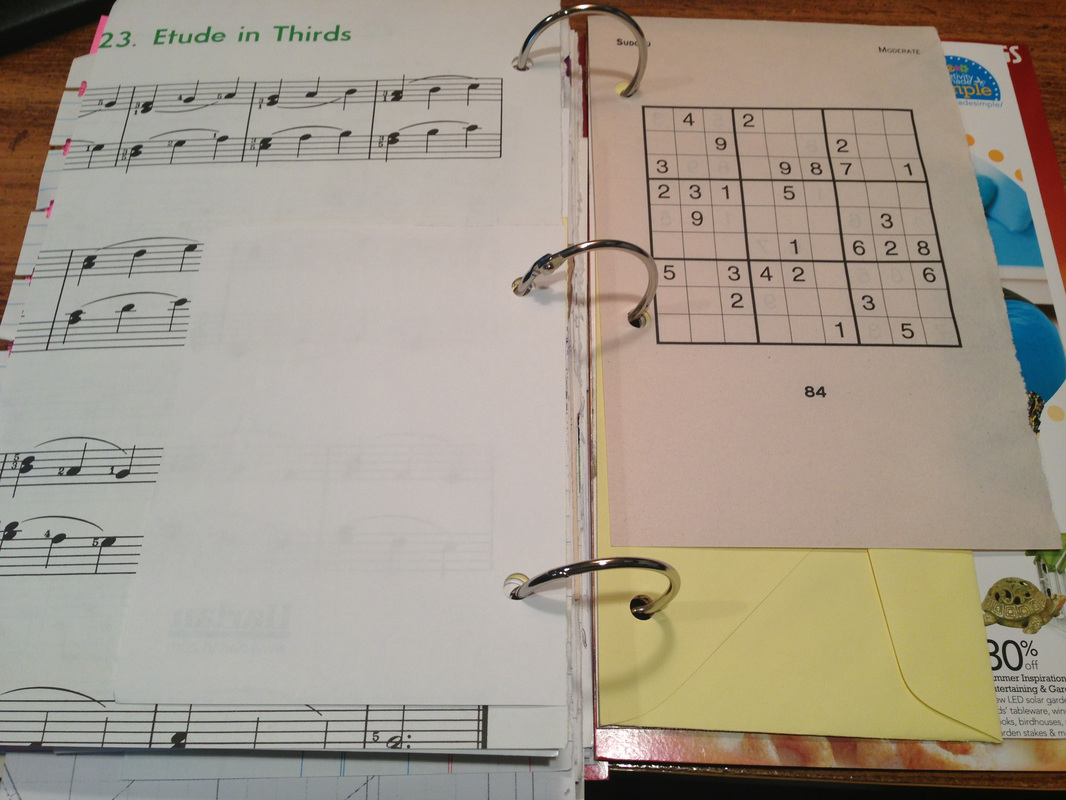
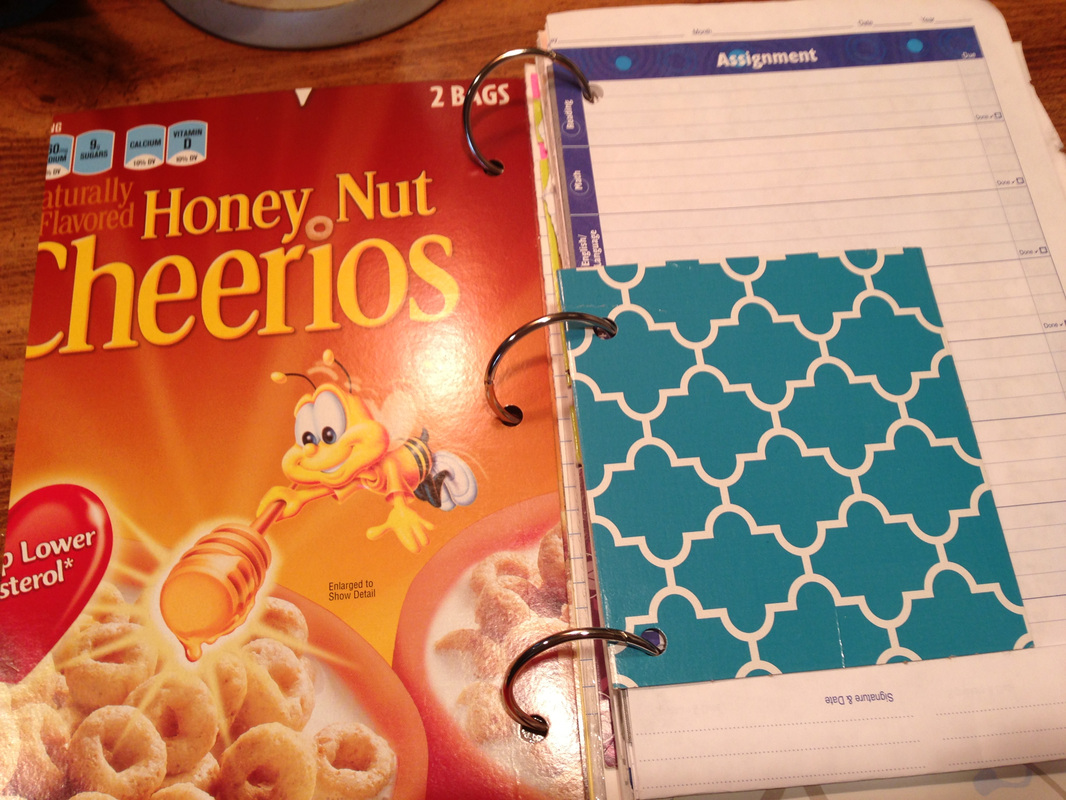
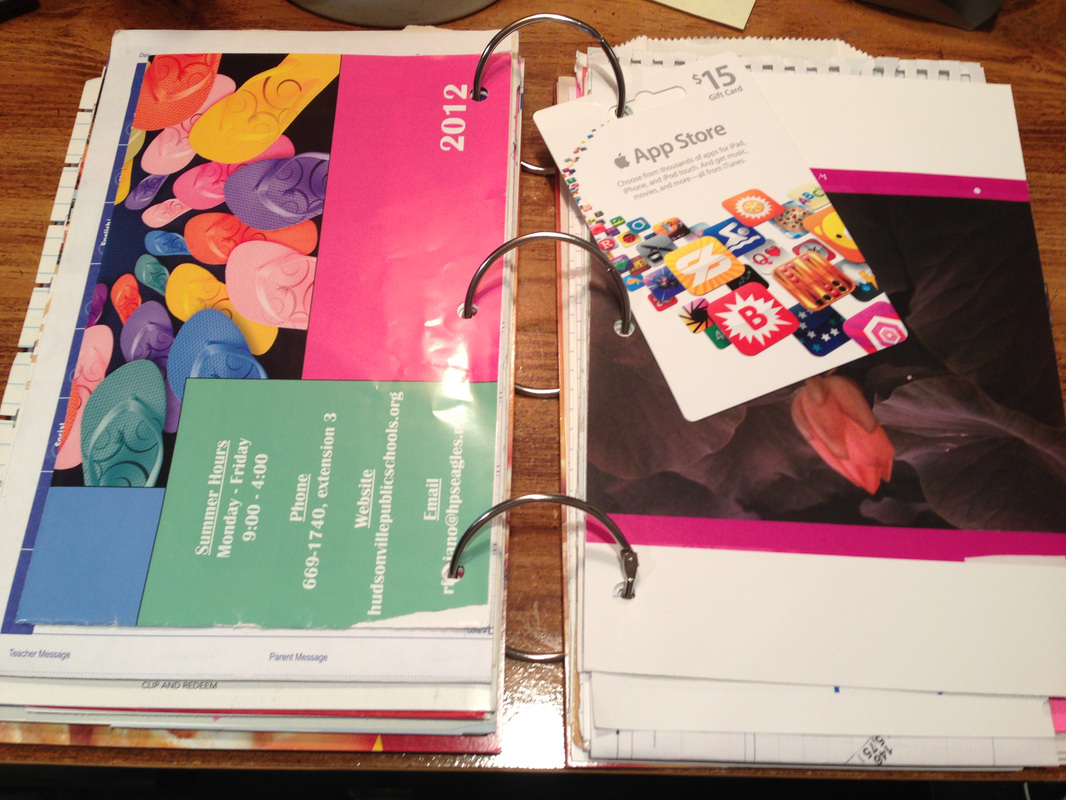
These junk journals are made from recycled food boxes, return mail envelopes, old maps, plastic zip bags from packaging, old nature books, flashcards and then a variety of papers they can write on.
| 
|
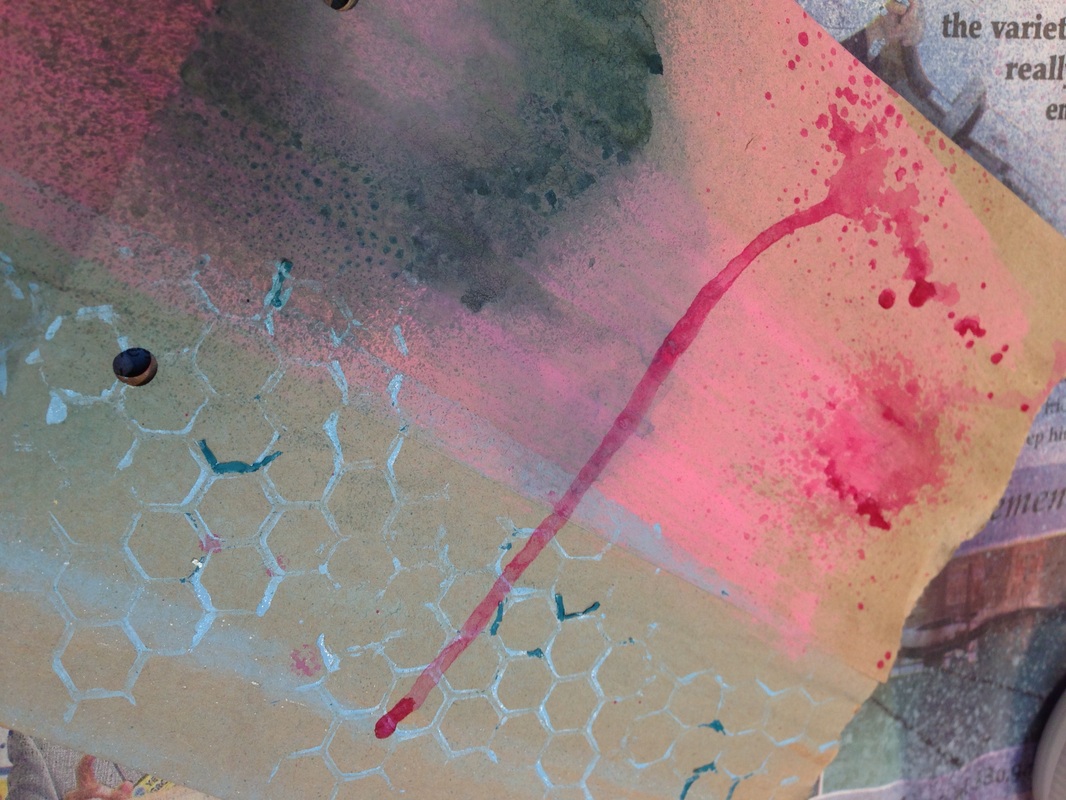
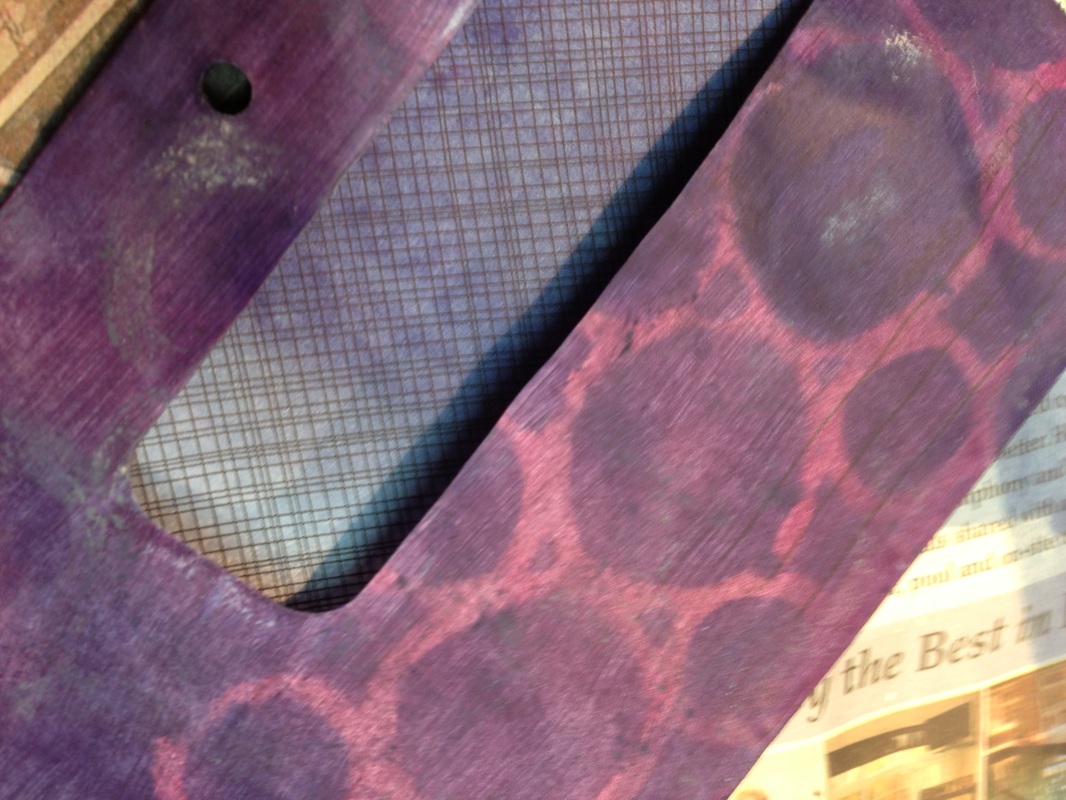
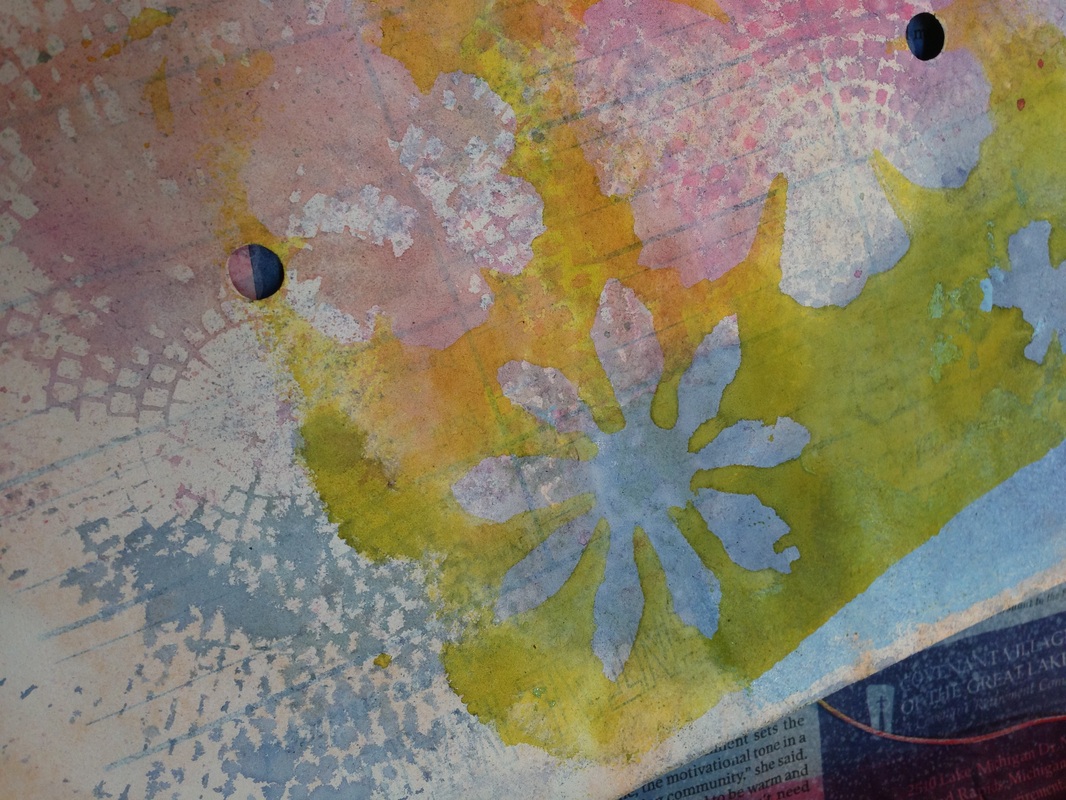
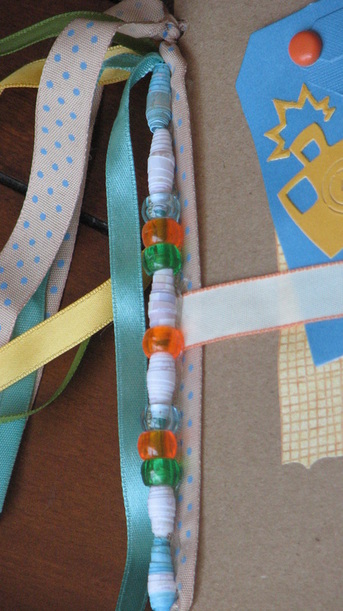
I typically only make my junk journals out of recycled and found papers but for these boys, I wanted to make sure there was plenty of room for them to draw, use sticker and practice their writing. I used some old constructions paper and colored copy paper that I have had forever. The colors are faded but perfect for this project.
| 
|
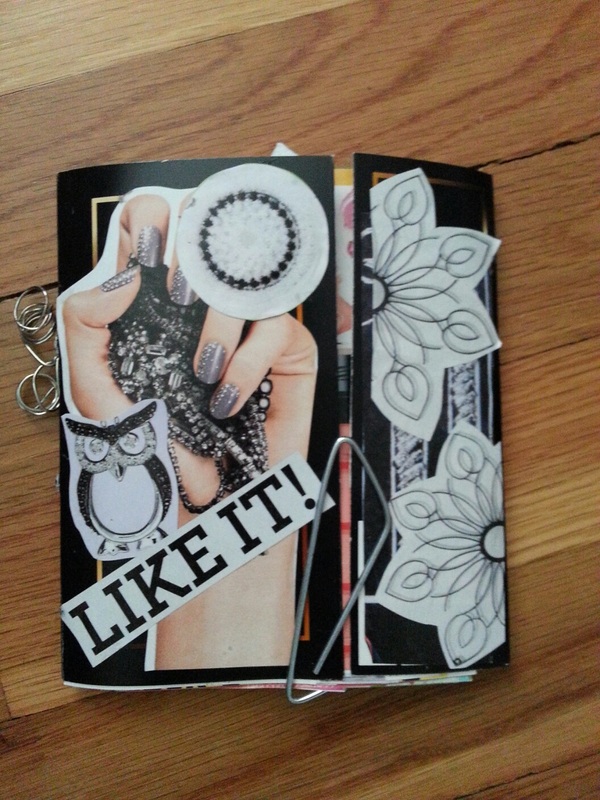
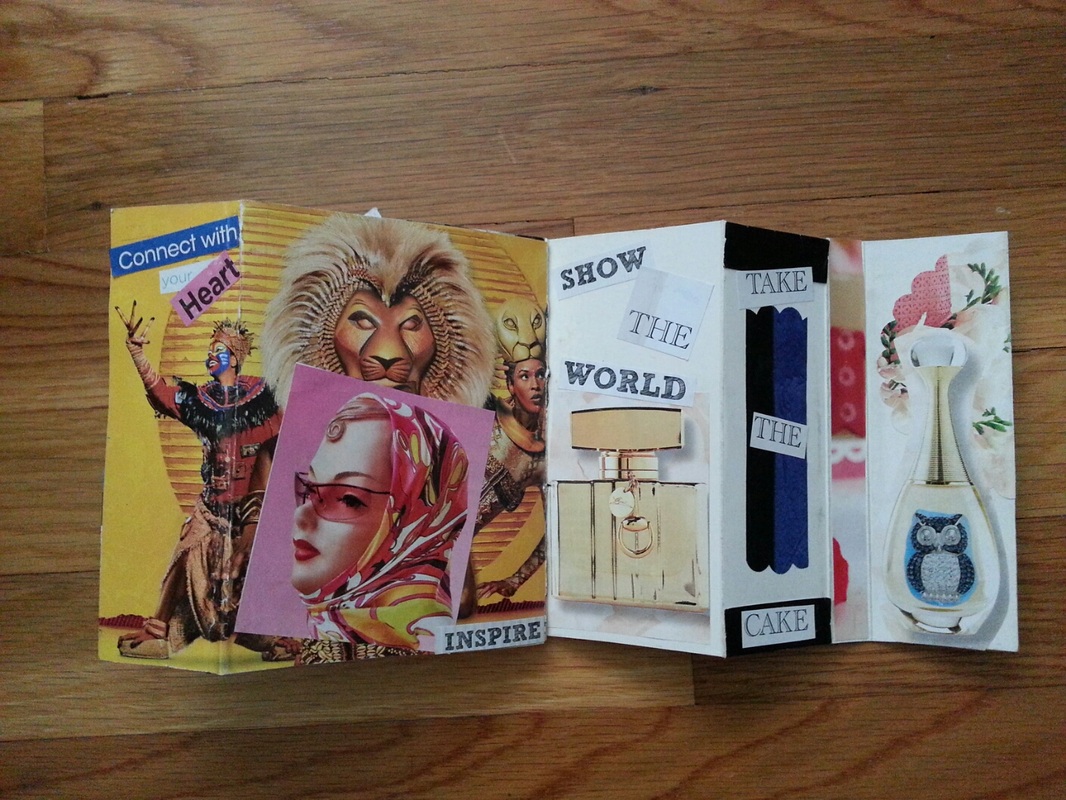
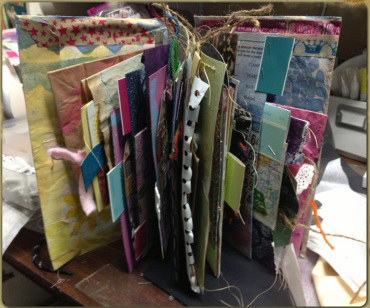
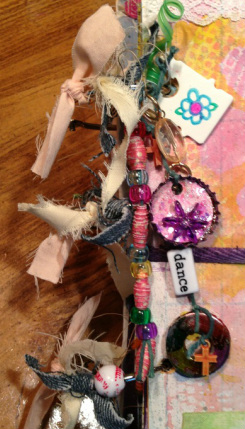
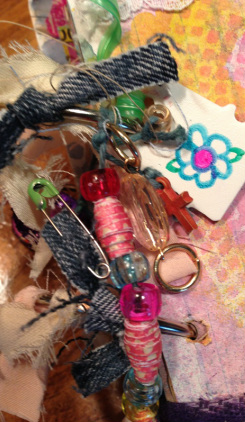
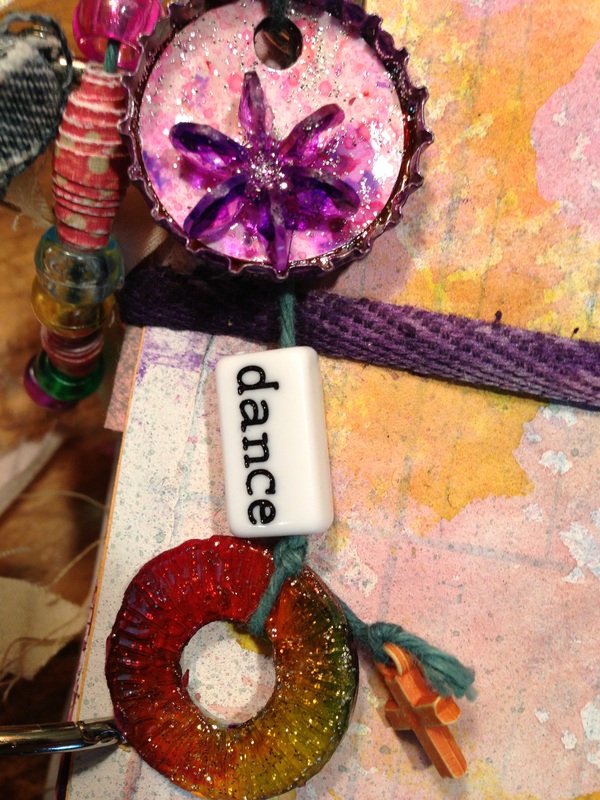
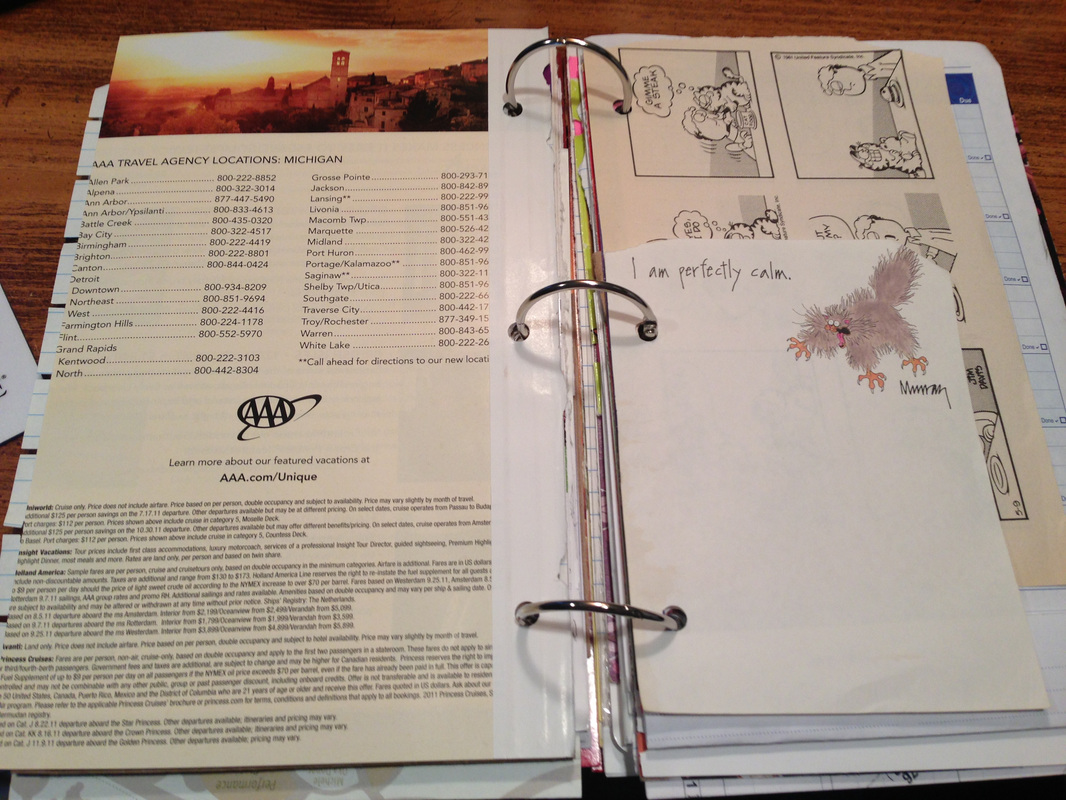
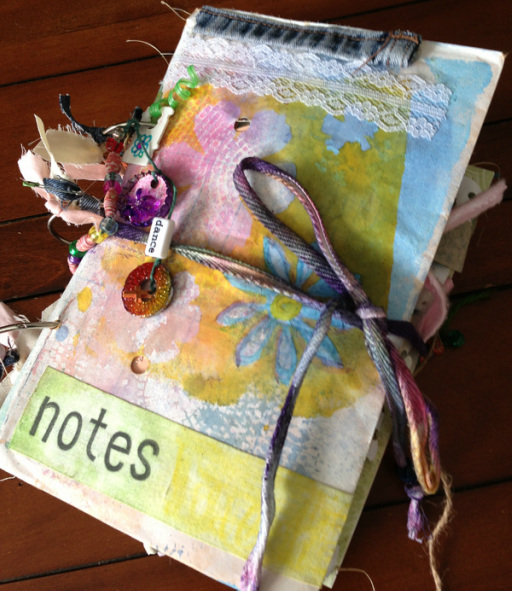
I made pocket, tabs and fold out pages to make it interactive for them.
| 
|
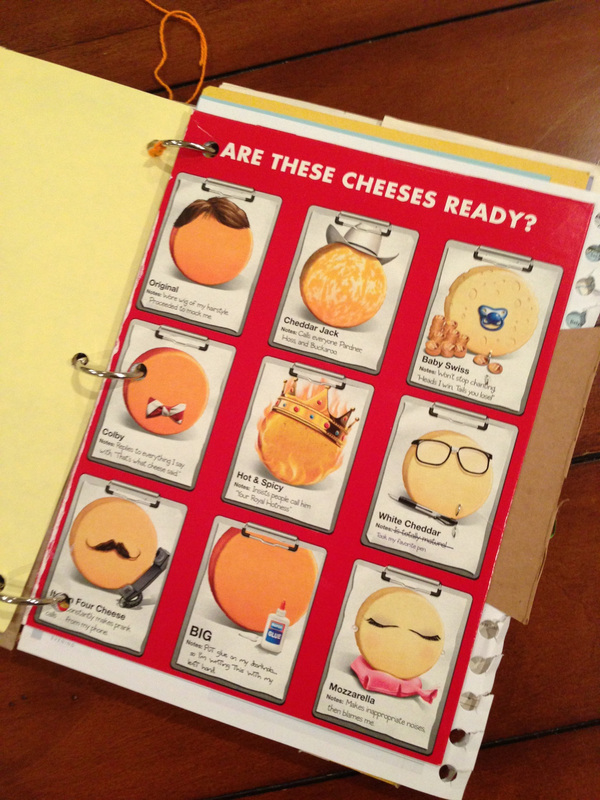
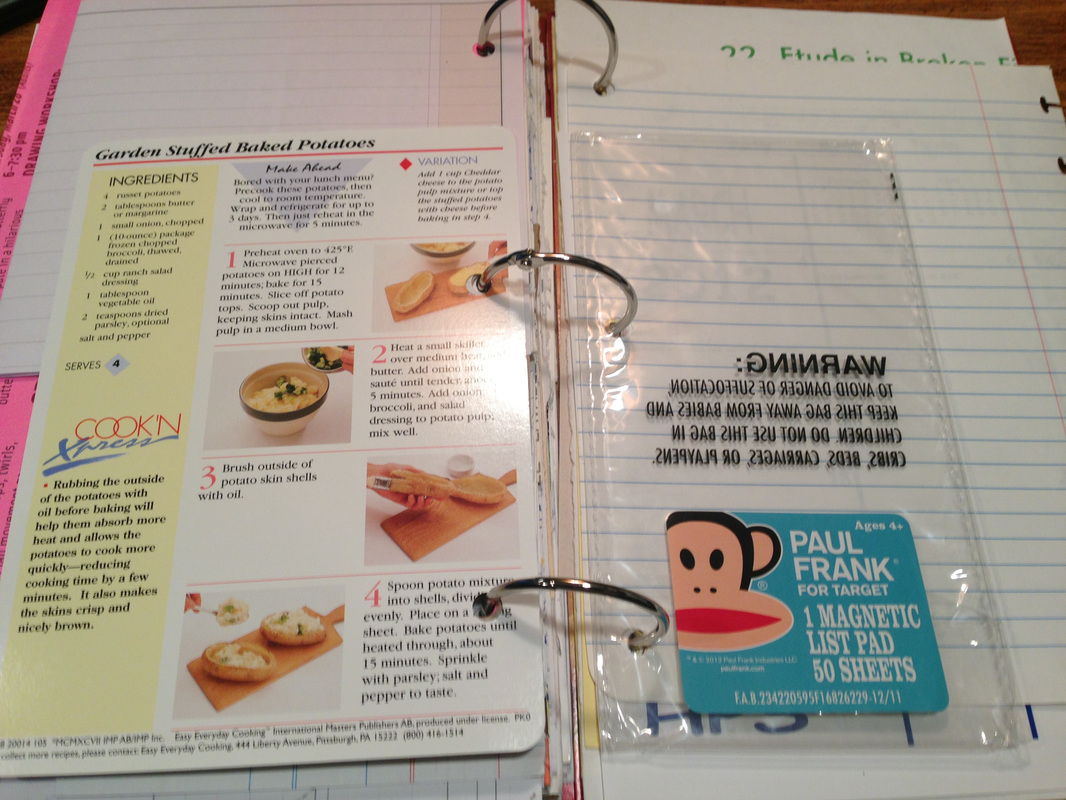
I tried to pick super fun boxes to make this journal with and didn't cover up the writing or images on them. I just left them. They love the Cheez-It guys and the funny muffin cow. This page below is a noodle box with a plastic window. I left that and put a picture on the other side.

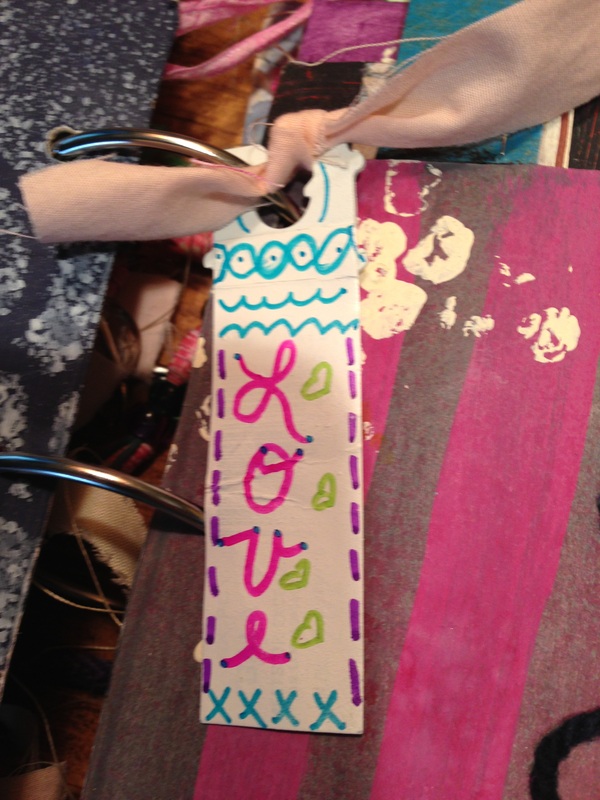
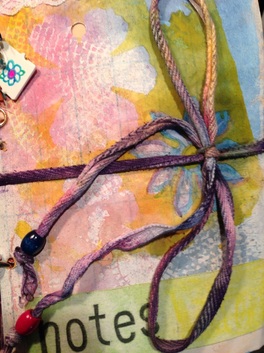
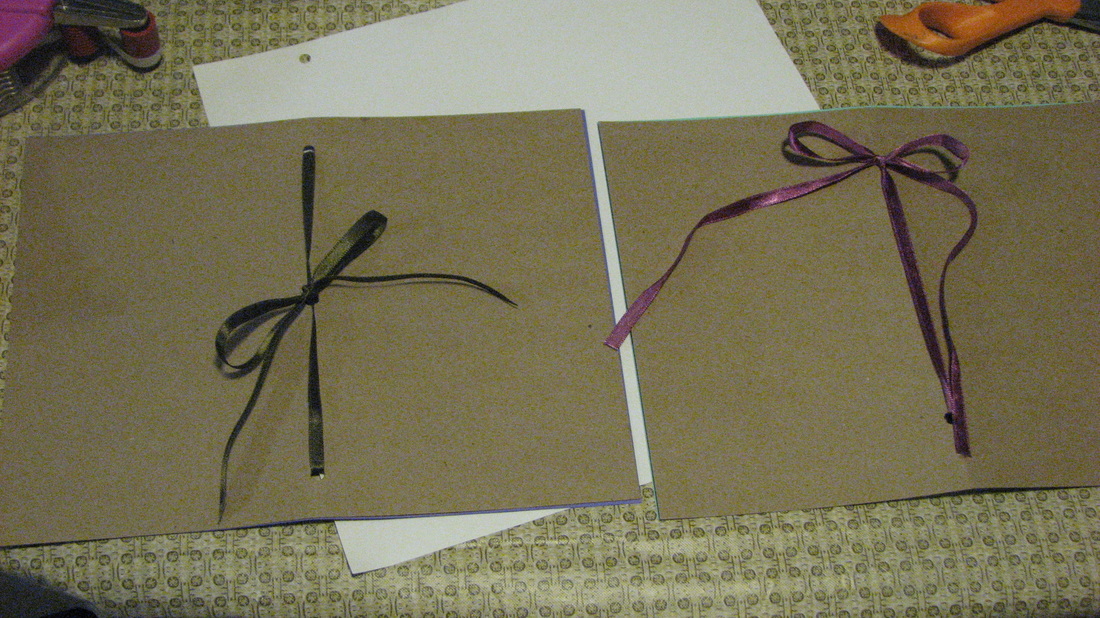
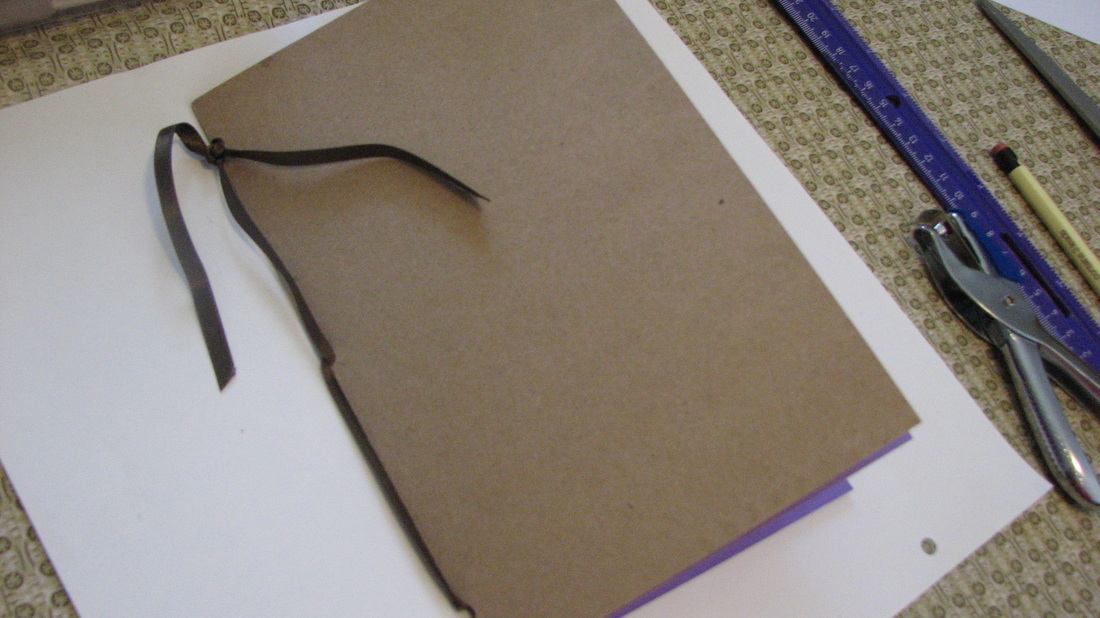
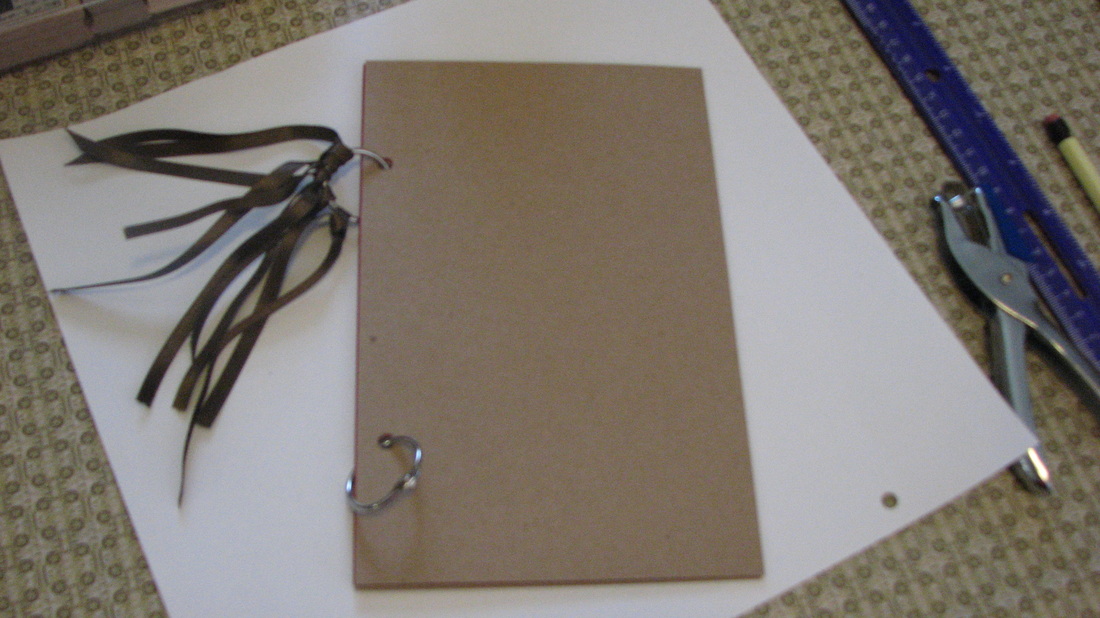
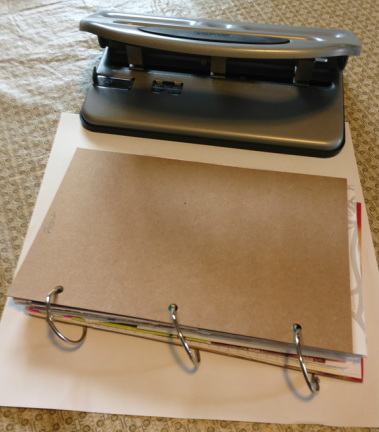
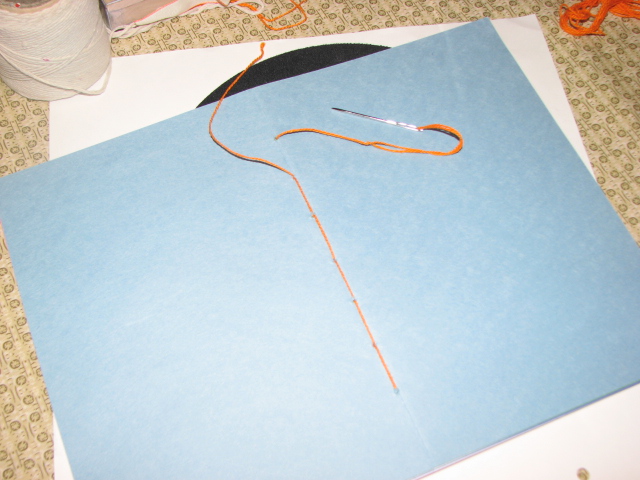
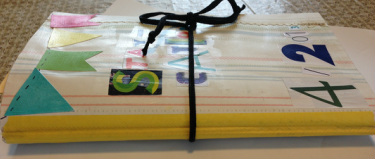
I decided to make these journals with C Rings so my sister can add pages or art work if needed. I just used my 3 hole punch with the holes set to the middle and then one inch from the top and bottom.
Making junk journals is really fun. I hope you give it a try and share with me.
MiMi Dibble
THEscrapinator5000
MiMi Dibble
THEscrapinator5000


 RSS Feed